
- danielfox
What Does Rubber Roof Installation Cost on a Residential Property?
Quick Answer: Residential rubber roof installation usually costs about $5 to $10 per square foot installed for most EPDM projects. Smaller garage, porch, or dormer roofs may cost a few thousand dollars, while larger low-slope sections cost more based on size and prep work. EPDM is commonly used for flat or low-slope roofs and is often listed around $4 to $10 per square foot. |
Rubber roof installation on a residential property usually costs more than basic roofing materials alone because the final price includes labor, roof preparation, membrane installation, flashing, drainage details, and warranty coverage.
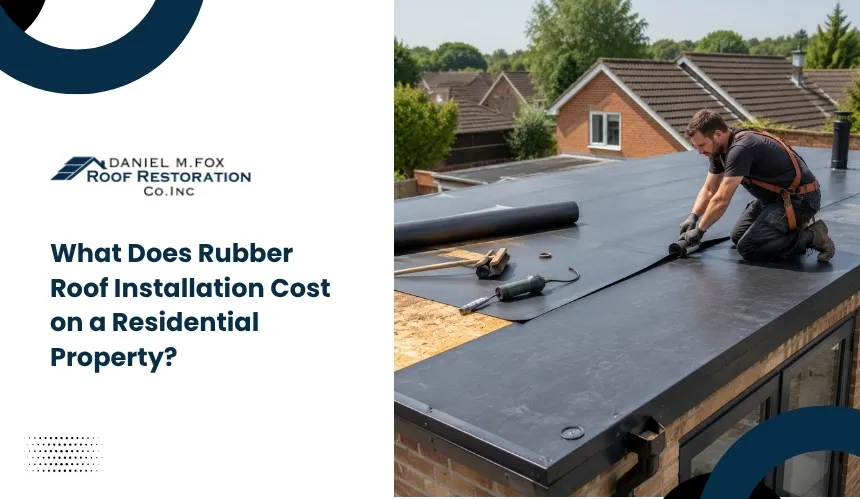
Rubber roofing is commonly used on flat or low-slope residential areas such as home additions, garages, porches, dormers, and modern flat-roof sections. Since these roofs do not shed water the same way steep asphalt shingle roofs do, proper installation matters just as much as material quality.
This guide explains the main cost breakdown for residential rubber roofing, the factors that affect the final estimate, what should be included in a professional installation quote, and how homeowners can compare pricing before choosing a roofing contractor.
Cost Breakdown for Residential Rubber Roofing
Residential rubber roofing cost depends on roof size, roof condition, membrane type, and how much preparation the roof needs before installation. For most homeowners, the most useful way to understand pricing is to separate standard EPDM installation from more complex replacement work.
A simple rubber roof installation usually costs less than a project that includes old roof removal, insulation boards, damaged decking, drainage correction, or detailed flashing. This is why a contractor’s estimate should clearly show what is included, rather than just giving a single flat project price.
Imp Info: Roofing estimates may use the term “roofing square,” which means 100 square feet. This helps homeowners understand why a small roof section can still be priced as a measured roofing unit. |
Average Cost Per Square Foot
Most residential EPDM rubber roof installations cost about $5 to $10 per square foot installed. Simple, clean, low-slope roof sections may fall in the $4 to $6 per square foot range, while more detailed replacement projects can exceed $10 per square foot.
This range is more helpful than using the full high-end replacement range for every project. Higher costs usually apply when the roof needs tear-off, insulation, decking repair, extra flashing, or work around vents, skylights, chimneys, and wall transitions.
Average Total Project Cost for a Home
A small residential rubber roof section may cost a few thousand dollars, while a larger flat or low-slope roof can cost much more. HomeGuide lists average rubber roof installation at $6,000 to $20,000 for about 1,500 to 2,000 square feet, but smaller garage, porch, or dormer roofs can be far below that.
The total project cost depends on how much roof area needs coverage and whether the surface is ready for installation. A clean garage roof is usually much cheaper than a larger residential roof that needs tear-off, drainage work, insulation, or roof deck repairs.
Material Cost vs. Installed Cost
Material-only pricing is much lower than installed pricing because the rubber membrane is only one part of the roofing system. HomeGuide lists EPDM material alone around $0.50 to $3.50 per square foot, while installed EPDM roofing is much higher because labor, preparation, adhesive, flashing, and seam work are included.
This difference matters when comparing contractor quotes. A low material price does not show the real cost of making the roof watertight, so homeowners should compare complete installed estimates instead of membrane prices alone.
What Factors Affect Rubber Roof Installation Cost?
Rubber roof installation cost changes when the roof needs more labor, stronger materials, extra waterproofing details, or harder site access. The biggest cost drivers are usually roof complexity, existing surface condition, membrane system, insulation needs, and the amount of flashing required around roof features.
These factors matter because rubber roofing depends on clean bonding, sealed seams, stable decking, and watertight transitions. A roof that looks simple from the ground may still cost more if the contractor finds weak decking, old layers, poor drainage, or difficult areas around walls, vents, skylights, or chimneys.
1. Roof Layout and Detail Work
A roof with more edges, corners, vents, skylights, chimneys, or wall transitions usually costs more to install. These areas need extra flashing, sealant, cutting, fitting, and waterproofing because the rubber membrane must remain sealed around every interruption in the roof surface.
A simple open roof is easier to cover because the membrane can be placed and sealed with fewer interruptions. A detailed roof takes more time because each penetration and transition creates another place where water can enter if the work is not done carefully.
2. Existing Roof Condition
Drainage Warning: Ponding water is commonly defined as water that remains on a roof for more than 48 hours after rainfall. If this is happening, the roof may need drainage correction before installation |
A damaged or uneven roof surface can increase the installation cost because the new rubber membrane needs a stable base. If the old roof has trapped moisture, soft decking, damaged sheathing, or layers that must be removed, the contractor has to fix those issues before the membrane is installed.
This step is important because rubber roofing performs best when it is bonded or fastened over a clean and secure surface. Installing new membrane over weak decking or wet material can lead to poor adhesion, seam stress, and early leaks after the project is finished.
3. Membrane Thickness and Installation System
A thicker membrane or more advanced installation system can increase the project cost. Rubber roofing systems may be ballasted, mechanically fastened, or fully adhered, and adhered systems often cost more because they use bonding materials and require more careful surface preparation.
The right system depends on the roof structure, exposure, slope, and performance needs. A contractor may recommend a stronger membrane or a more secure attachment method when the roof faces heavy sun, wind exposure, frequent foot traffic, or higher leak risk.
4. Access, Height, and Labor Conditions
Hard-to-reach roofs usually cost more because crews need more time, equipment, and safety planning to move materials and work properly. HomeGuide notes that roofs higher than 15 feet are harder to access and often cost more to install.
Labor also increases when the roof has multiple stories, tight property access, limited staging space, or difficult debris removal. These conditions do not change the membrane itself, but they change how long the job takes and how much effort is needed to complete the installation safely.
What Is Usually Included in a Rubber Roof Installation Quote?
Imp Info: A complete quote should mention whether waste disposal, taxes, access planning, and weather delays are included, because these small details can affect the final project cost. |
A rubber roof installation quote should clearly list the work scope, roofing materials, preparation steps, waterproofing details, cleanup, permit responsibility, and warranty terms. A vague quote is harder to compare because it may leave out disposal, taxes, extra fees, or project-specific details that affect the final cost.
A complete estimate should not only say “install rubber roof.” It should explain what the contractor will remove, repair, install, seal, inspect, and guarantee so the homeowner knows exactly what is included before work starts.
1. Roof Preparation and Surface Work
The quote should explain how the roof surface will be prepared before the rubber membrane is installed. This may include checking the existing surface, removing loose material, cleaning the roof deck, and confirming whether old roofing layers need to come off.
This matters because rubber roofing needs a clean and stable surface to seal properly. If preparation is not clearly included, the homeowner may later face extra charges for removal, sheathing work, or surface correction after the project begins.
2. Insulation, Underlayment, and Drainage Details
The quote should state whether insulation board, recovery board, or underlayment is included in the installation. These layers support the membrane, improve the roof assembly, and help create a better surface for long-term performance.
It should also mention any drainage-related work if the roof has ponding or slow runoff. Flat and low-slope roofs have limited natural drainage, so the estimate should clarify whether slope correction, drains, or water-flow improvements are part of the project.
3. Flashing, Seams, Edges, and Penetrations
The quote should include flashing, seam sealing, edge finishing, and waterproofing around roof penetrations. Areas around chimneys, skylights, vents, walls, and roof edges need careful sealing because these are common leak points.
This part of the quote is important because the membrane alone does not protect every transition. A strong estimate should describe how seams will be sealed, how edges will be finished, and how penetrations will be flashed to keep the roof watertight.
4. Cleanup, Warranty, and Final Inspection
The quote should clearly mention debris removal, jobsite cleanup, warranty coverage, and final inspection. HomeGuide recommends asking whether waste disposal or taxes are included and what the warranty covers before work begins.
The final inspection confirms that seams, edges, flashing, and roof details were completed properly. Warranty terms should also be written clearly so the homeowner understands what is covered by the material warranty and what is covered by the contractor’s workmanship warranty.
How Homeowners Can Minimize Rubber Roof Installation Cost
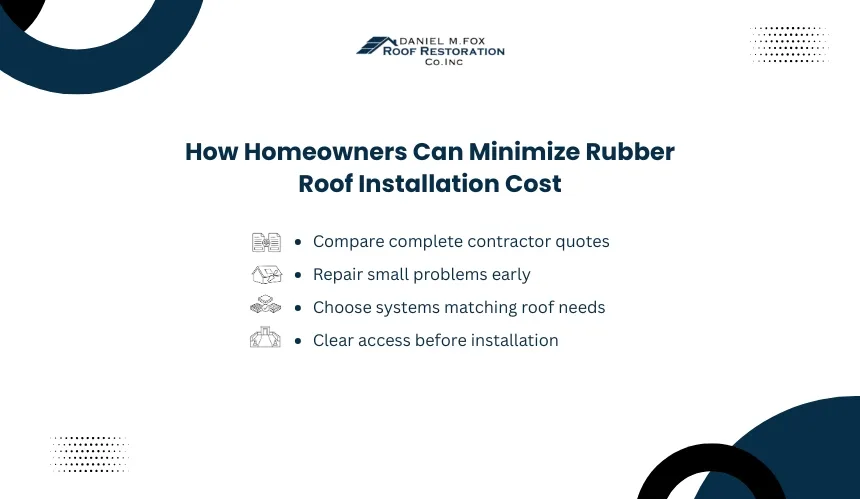
Homeowners can lower rubber roof installation cost by comparing complete quotes, avoiding unnecessary replacement work, and fixing small roof problems before they become larger repairs. HomeGuide recommends getting three or more quotes, avoiding extremely low or high prices, and being cautious when a contractor recommends full replacement if repairs may be enough.
The goal is not to choose the cheapest contractor. The goal is to reduce avoidable costs while still paying for proper surface preparation, seam sealing, flashing, and warranty-backed installation.
1. Compare Complete Quotes, Not Just Final Prices
Homeowners can avoid overpaying by comparing quotes with the same scope of work. A cheaper quote may leave out disposal, permits, cleanup, insulation, flashing, or warranty details, which can lead to extra charges later.
A complete quote should explain what is included, what is optional, and what may cost more if hidden damage is found. This makes it easier to compare contractors fairly instead of choosing based only on the lowest number.
2. Repair Minor Problems Before They Spread
Homeowners can reduce long-term roofing costs by fixing small leaks, worn seams, or minor punctures early. Minor rubber roof repairs usually cost much less than replacing large roof sections, especially when damage is caught before moisture reaches the decking.
Waiting too long can turn a small repair into a larger installation project. Once water damages insulation, decking, or interior areas, the contractor may need to add tear-off, structural repair, or moisture correction to the final cost.
3. Choose the Right System for the Roof
Homeowners can control cost by choosing a rubber roofing system that matches the roof’s actual needs. A simple low-slope residential section may not need the most expensive system if the surface is stable, drainage is acceptable, and foot traffic is limited.
The lowest-cost system is not always the best choice if the roof has exposure, access, drainage, or durability concerns. A practical system should balance upfront cost with long-term leak protection and maintenance needs.
4. Keep the Roof Accessible Before Work Starts
Homeowners can reduce labor delays by clearing access around the home before installation begins. Moving vehicles, patio furniture, planters, stored items, and blocked pathways helps the crew bring materials in and remove debris more efficiently.
Access does not change the membrane price, but it can affect labor time. A cleaner work area helps the project move faster and lowers the chance of extra charges caused by delays, safety issues, or difficult material handling.
Frequently Asked Questions
How long does a rubber roof usually last on a home?
A residential rubber roof usually lasts 10 to 30 years, depending on the membrane type, weather exposure, installation quality, and maintenance. EPDM roofs often last longer when seams, edges, and drainage areas are checked regularly.
Does a rubber roof need regular maintenance after installation?
Yes, rubber roofs still need basic maintenance after installation. Homeowners should remove leaves, branches, and debris, check for surface damage, and schedule occasional inspections to catch small seam or puncture issues before they become leaks.
Can a small rubber roof leak be repaired without replacing the whole roof?
Yes, small rubber roof leaks can often be repaired without replacing the entire roof. Minor punctures, open seams, or isolated damaged areas may be patched, but widespread cracking, repeated leaks, or aging membrane may require replacement.
Does rubber roofing have a smell after installation?
Rubber roofing may have a temporary odor after installation, especially when adhesives or bonding materials are used. The smell usually fades as the roof settles and the area ventilates, but it can be more noticeable during warm weather.
Does rubber roof color matter?
Yes, rubber roof color can affect heat absorption. Black EPDM absorbs more heat, while white or reflective rubber roofing can help reduce surface heat in warmer climates. The best choice depends on climate, roof use, and energy goals.