
- danielfox
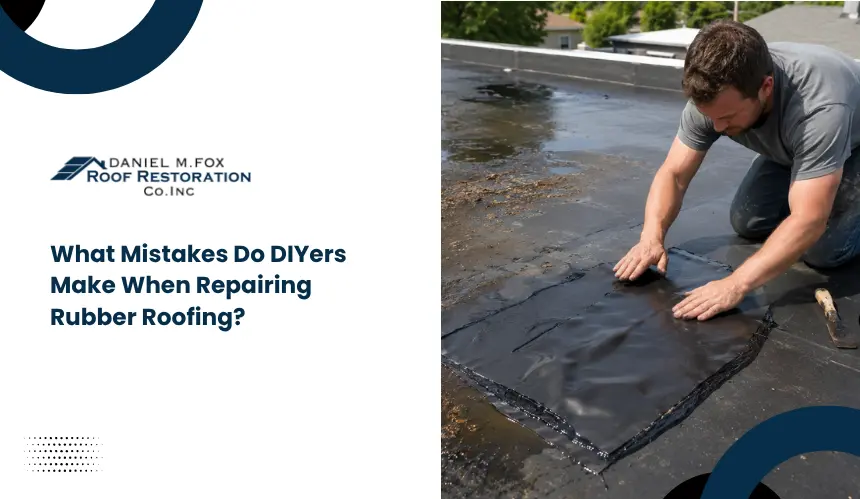
What Mistakes Do DIYers Make When Repairing Rubber Roofing?
Quick Answer: DIYers often make rubber roof repairs fail by using the wrong materials, patching over dirty or wet surfaces, cutting patches too small, and ignoring seams, flashing, or hidden moisture. Rubber roofing needs compatible repair products, clean preparation, proper sealing, and careful inspection before any patch is applied. |
Most DIY rubber roof repair mistakes happen because the leak is treated as a small surface problem instead of part of a complete roof system. A patch may look secure at first, but it can fail quickly if the membrane, seams, flashing, adhesive, or roof deck condition is not checked properly.
Rubber roofing is commonly used on flat and low-slope areas where water can sit longer than it does on steep roofs. Because of that, even a small repair mistake can allow water to move under the membrane and create repeat leaks, moisture damage, or larger repair costs later.
Rubber roof repairs can seem easy, but they often fail when small steps are missed. This blog explains where DIY repairs commonly go wrong and how homeowners can avoid repeat leaks, weak patches, and bigger roof problems.
Mistake #1: Using the Wrong Repair Materials
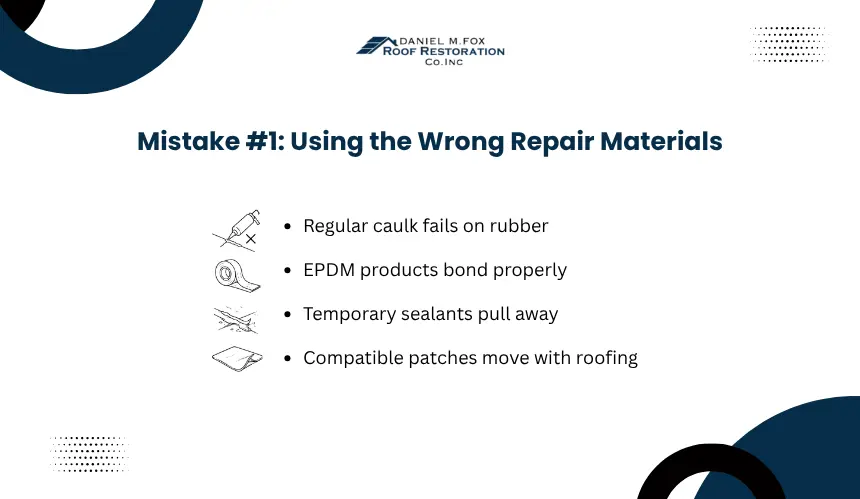
DIYers often cause rubber roof repairs to fail by using materials not designed for flexible rubber roofing. Products like regular caulk, tar, asphalt roof cement, or general roof sealant may look like they stop the leak, but they often do not bond well to rubber membrane surfaces.
The main problem is that these materials can crack, shrink, loosen, or separate when the roof expands, contracts, or holds water. A rubber roof repair needs materials that can stay bonded to the membrane and move with the roof surface.
Why EPDM-Compatible Products Matter
EPDM-compatible repair products are made to bond with rubber roofing without damaging the membrane. Common repair materials include EPDM primer, seam tape, cover tape, uncured flashing tape, EPDM patch membrane, and lap sealant.
Each product has a specific use. Seam tape is used for open seams, cover tape works for cuts or small damaged areas, uncured flashing tape is used around corners and penetrations, and lap sealant helps protect exposed tape edges from water entry.
Seaming Method: EPDM is a thermoset roofing membrane, so its seams are typically joined with pressure-sensitive tape rather than heat welding. This makes tape, primer, and patch compatibility more important during repair. |
Why Temporary Sealants Do Not Last
Temporary sealants fail because they usually sit on top of the rubber surface instead of forming a proper bonded repair. A bead of caulk, tar, or roof cement may block water briefly, but it can pull away when the membrane expands, contracts, heats up, or stays wet.
These products also do not reinforce the damaged area the way repair tape or patch membrane does. If the rubber has a cut, puncture, open seam, or lifted edge, the repair needs enough bonded surface around the damage to stop water from traveling underneath.
A lasting repair usually needs cleaning, primer, proper tape or patch material, firm pressure, and sealed edges. Without those steps, water can work under the patch, weaken the bond, and cause the same leak to return during the next heavy rain.
Mistake #2: Patching Without Cleaning and Drying the Roof Surface
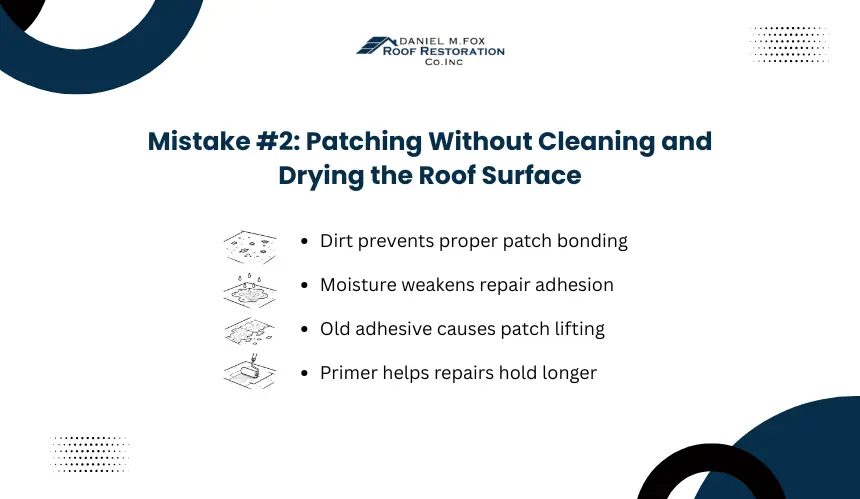
DIY rubber roof patches fail when they are applied over dirt, moisture, old adhesive, loose coating, or oily residue. Before any patch is installed, the surface needs to be cleaned, dried, and prepared so the repair material can bond directly to the rubber membrane.
A clean surface is what gives the patch a real chance to hold. If the roof still has dust, damp spots, old caulk, or sticky residue, even the right repair product can lift, wrinkle, or leak again.
Why Dirt, Moisture, and Old Adhesive Cause Patch Failure
Dirt, moisture, and old adhesive prevent repair tape or patch membrane from making full contact with the rubber roof surface. The patch may stick at first, but weak contact points can lift when rain, heat, or roof movement puts pressure on the repair.
Old caulk, roof cement, algae, grease, chalky residue, and loose coating should be removed before patching. If the surface still feels slick, dusty, sticky, or damp after cleaning, the repair area is not ready for tape or patch membrane.
How the Surface Should Be Prepared Before Patching
The damaged area should be cleaned wider than the patch itself so every edge of the repair bonds to a clean surface. If the patch needs several inches of overlap, the cleaning area should extend beyond that overlap on all sides.
A proper surface should be dry, smooth, stable, and free from loose material before the patch is placed. For small cuts or punctures, the surrounding membrane should be checked carefully because nearby cracks, lifted edges, or worn seams can cause the leak to return.
Why Primer Should Not Be Skipped or Misused
EPDM primer helps seam tape, cover tape, and patch materials bond properly to the rubber membrane. Skipping primer can cause the patch edges to lift early, especially around seams, corners, and areas where water sits longer.
Bonding Check: If the roof still feels dusty, damp, slick, sticky, or soft after cleaning, it is not ready for tape or patch membrane. The repair surface should feel dry, stable, and clean before any primer or patch is applied. |
Mistake #3: Making the Patch Too Small or Poorly Sealed
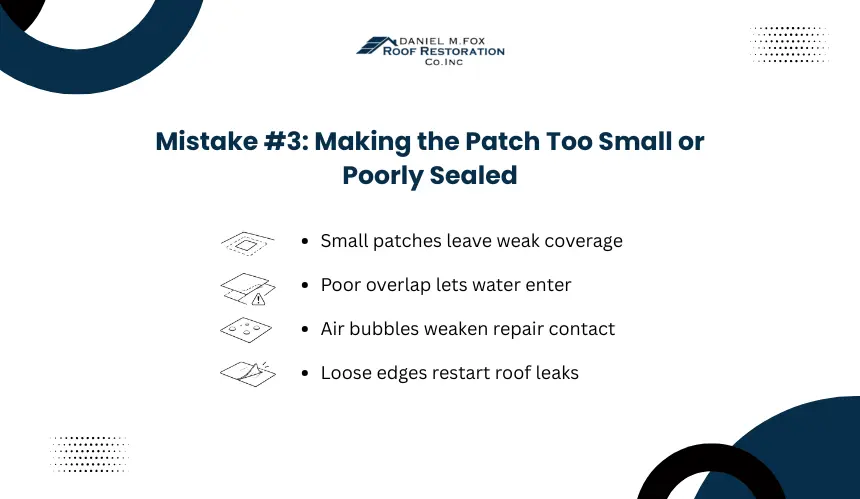
A rubber roof patch can fail when it is too small or does not fully seal around the damaged area. Many DIYers cut the patch only slightly bigger than the hole, but that does not give the repair enough surface area to hold. The patch needs to cover the damaged spot and enough clean membrane around it so water cannot slip underneath.
A strong patch depends on proper size, smooth contact, and sealed edges. If the patch is wrinkled, loose, uneven, or barely covering the damage, it may look fixed for a short time but fail during rain or roof movement. Even one lifted corner can let water travel under the repair and bring the leak back.
Poor Patch Overlap Can Let Water Slip Under the Repair
A rubber roof patch should extend several inches beyond the cut, puncture, or open seam on every side. This extra overlap gives the repair tape or patch membrane enough clean roof surface to grip properly. Without enough overlap, the patch may rely too much on the damaged area, which is already weak.
The patch should also cover any worn or stretched membrane around the visible damage. Sometimes the hole is only the most obvious part of the problem, while the surrounding rubber is also cracked, thin, or loose. If that nearby damage is not covered, water may start leaking again beside the patch instead of through the original spot.
Air Bubbles and Loose Edges Can Cause the Leak to Return
Air bubbles and wrinkles weaken the repair because they stop the patch from sitting flat against the rubber membrane. These raised areas can trap moisture, collect dirt, and create small gaps where water can push under the patch. A good repair should look smooth, flat, and firmly bonded from edge to edge.
After placing the patch, DIYers should press it down firmly from the center toward the outer edges. This helps push out trapped air and gives the adhesive full contact with the roof surface. Loose corners, raised edges, or uneven pressure should be fixed immediately because they are common starting points for repeat leaks.
Mistake #4: Ignoring Seams, Flashing, and Roof Penetrations
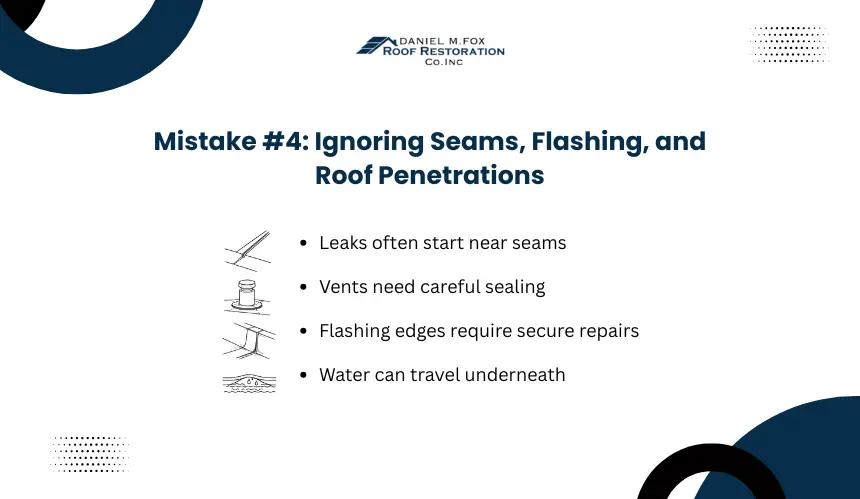
DIYers often patch the visible rubber surface but miss the areas where leaks actually start. On rubber roofs, water commonly enters around seams, wall edges, vents, skylights, pipe boots, drains, and flashing details because these areas interrupt the flat membrane.
A repair should not stop at the first hole or stain. The surrounding seams, edges, and roof penetrations should be checked carefully because membrane roofing depends heavily on properly sealed seams and transitions to prevent leaks.
Common Leak Points Around Rubber Roofs
Leaks often start around roof details because these areas interrupt the flat rubber membrane. Before patching the visible damage, DIYers should check the most common leak points:
- Seams: Look for loose seam tape, open edges, cracks, dirt buildup, or separation between membrane sheets.
- Vents and pipe boots: Check for gaps, loose collars, cracked sealant, or lifted flashing around pipes.
- Skylights: Inspect the corners, curb edges, and flashing where water can collect or push under the membrane.
- Drains: Look for debris buildup, ponding water, loose membrane edges, or gaps around the drain bowl.
- Wall transitions: Check where the rubber roof meets siding, brick, parapet walls, or vertical surfaces.
- Roof edges: Inspect drip edges, termination bars, and lifted membrane near the outer roof border.
These areas should be checked before placing a patch because the indoor leak may not be directly below the damaged spot. Water can travel under the rubber membrane and appear in a different area inside the home.
Why Edge and Flashing Repairs Need Careful Sealing
Edges and flashing areas need careful sealing because water naturally moves toward roof borders, walls, drains, and raised details. If the flashing is loose or the membrane is lifting at the edge, water can slip underneath the rubber and spread beyond the visible damaged area.
A proper repair should secure the lifted membrane, seal the transition, and protect exposed tape edges with the correct finishing material. If DIYers only cover the top surface and ignore the flashing detail, the roof may keep leaking even though the patch itself looks clean.
Mistake #5: Missing Hidden Moisture or Deck Damage
DIYers often patch the rubber surface without checking whether water has already moved underneath the membrane. A patch can cover the outside leak, but it will not fix wet insulation, soft decking, trapped moisture, or sagging areas below the rubber roof.
This mistake is serious because flat roof leaks can travel before they show up inside the home. If water has soaked the decking or insulation, the roof may keep developing new leaks even after the visible damaged spot is patched.
Trapped Moisture Can Keep Damaging the Roof After Patching
Trapped moisture can stay hidden under a rubber roof after a leak has been patched from the top. If the area feels soft, spongy, blistered, or uneven when walked on, there may be moisture below the membrane instead of only surface damage.
DIYers should not ignore bubbles, raised areas, damp edges, or repeated leaks in the same general area. These signs can mean water has moved beyond the original puncture and may be affecting the insulation or roof deck underneath.
Soft Decking Can Make a Surface Patch Fail Again
Soft decking means the surface under the rubber roof may be weakened by water damage. A patch placed over weak decking may not hold well because the roof surface can flex, sag, or shift underneath the repair.
Before patching, DIYers should check for low spots, soft areas, sagging sections, and interior stains below the roof. If the roof feels unstable or the leak has been active for a long time, the repair may need professional inspection instead of another surface patch.
Mistake #6: Trying DIY Repair When the Roof Needs Professional Help
DIY rubber roof repair becomes risky when the damage is large, the leak keeps returning, or the roof surface feels unsafe to work on. A small puncture may be manageable with the right repair kit, but repeated leaks, soft decking, wide seam failure, or damaged flashing usually need more than a surface patch.
This mistake matters because some roof problems are not just repair issues; they are inspection, safety, or warranty issues. Roofing work also carries real fall risk because it involves working at height, slippery surfaces, roof edges, and changing weather conditions.
Repeated Leaks May Need More Than Another Patch
Repeated leaks usually mean the first repair did not reach the real source of the problem. If the same area keeps leaking after a patch, the issue may be under the membrane, inside a seam, around flashing, or connected to drainage instead of the visible hole.
Large tears, long open seams, widespread cracking, loose membrane sections, or several leak points should not be treated like small DIY patch jobs. These problems often need a larger repair area, better material matching, moisture inspection, and sometimes partial replacement.
Safety and Warranty Issues Can Make DIY Repair Risky
Safety Threshold: OSHA says workers 6 feet or more above lower levels need fall protection because falls are the leading cause of death in construction. This is a useful reminder that even a “small” roof repair can become unsafe near edges, ladders, or skylights. |
DIY repair is not worth the risk if the roof is high, wet, steep near the edge, unstable, or hard to access safely. Even flat roofs can become slippery from dust, algae, ponding water, loose membrane, or morning moisture.
Warranty is another issue DIYers often miss. Some roofing warranties may be affected if the wrong material is used, if unauthorized repairs are made, or if the repair hides a larger problem. When safety, warranty coverage, or repeated leaks are involved, a professional inspection is usually the safer choice.
Frequently Asked Questions
Can DIY rubber roof repair be done in cold weather?
Cold weather can make rubber roof repair harder because tapes, primers, and adhesives may not bond as well on a cold membrane. Most repairs work better when the roof surface is dry, clean, and within the product’s recommended temperature range. If the roof is freezing or damp, the patch may lift early.
How long should a rubber roof patch be checked after repair?
A rubber roof patch should be checked after the first heavy rain and again after a few weeks. This helps confirm that the edges are still sealed, the patch is lying flat, and no water is moving under the repair. Early inspection can catch a weak patch before it becomes another leak.
Can walking on a rubber roof during repair cause damage?
Walking on a rubber roof can cause damage if the surface has sharp debris, soft decking, loose seams, or weak spots underneath. Shoes, tools, and ladders can also puncture or stress the membrane. DIYers should clear the work area first and avoid dragging tools across the roof.
Should old rubber roof patches be removed before adding a new one?
Old patches should be checked before another patch is added over them. If the old patch is loose, cracked, dirty, or trapping water, covering it may not solve the leak. The repair area needs a stable surface, so damaged or failing patch material may need to be removed first.
Why does a rubber roof leak come back after a DIY repair?
A rubber roof leak often comes back when the repair only covers the visible damage. Water may be entering through a nearby seam, edge, drain, flashing point, or hidden weak area. If the source is not found, the patch may look correct, but the leak can return after rain.